Official Luthiers Forum!
http://www.luthiersforum.com/forum/

Marcus' Build ~¡Final Pictures & Video Posted!~
http://www.luthiersforum.com/forum/viewtopic.php?f=10133&t=37225
Page 1 of 4

Author:  Marcus [ Thu Jul 26, 2012 5:33 pm ]
Post subject:  Marcus' Build ~¡Final Pictures & Video Posted!~

Against my better judgement after seeing both Filippo and Chris V entering the ring, I'll enter the contest.

I'm building a Black Walnut Parlor. I might make it a cutaway, which will be a new design for me.

Author:  Marcus [ Mon Jul 30, 2012 10:43 am ]
Post subject:  Re: Marcus' Build

I will be using Black Walnut for the back and sides for this guitar.

My parent's have a few black walnut trees behind their house that died a few years back. They aren't very big, but definitely usable.

Here are some pictures of my brother cutting down one of the limbs.

Image

Walnuts... that are black!
Image

Image

Image

Image

Author:  Marcus [ Mon Jul 30, 2012 10:46 am ]
Post subject:  Re: Marcus' Build

Black Walnut - $0 (as pictured from my parent's farm)
Sinker Cedar SB - $25 (got 4 sets for $100 from Pwoolson)
African Mahogany neck - $10 (cut from a 3" x 3" x 36" turning blank from woodcraft for $30)
Economy open backed tuners - $14 (stew mac, probably replace them after the challenge is over)
Nickle Fretwire - $5 (stew mac)
Spruce bracing - $10
W/B/W purfling - $10
Kerfed lining - $1 (I'll do my own cut from a large spanish cedar plank I paid $10 for)
Nut and Saddle - $8 (bleached from Stew Mac)
Z-poxy + Tru Oil finish - $10
Truss Rod - $16 (stew mac hot rod)
Inlay - $10
Ziricote Fretboard - $0
Ziricote Bridge - $0
Ziricote Binding - $0

Total is $119 so far.

Author:  Marcus [ Fri Aug 03, 2012 9:05 am ]
Post subject:  Re: Marcus' Build

update!

Here are pictures of the materials (well, most of them)

black walnut
Image

ziricote trim and african mahogany neck blank
Image

Image

I was looking around the garage last night and I saw a stick of Ziricote that i got for Christmas a few years back from my in-laws. I thought that would be a great addition to this build. I'll make the binding, fretboard (bookmatched), bridge and neck laminate out of it. The stick was purchases from the Rockler scrap bin, so it's not like it was that fancy anyway, $7.99, wooo.

cut the neck blank.
Image

gluing a simple ziricote laminate
Image

Author:  Marcus [ Mon Aug 06, 2012 9:49 am ]
Post subject:  Re: Marcus' Build

Son of a *&#$!!

grrr.... so it turns out I suck at freehand resawing.

I tried to resaw what was left of my ziricote (after cutting out the bindings and bridge) without the use of my fence. It looked fine from the top, but it turns out the bottom of the piece was shifting around on me. So now I have two useless ziricote pieces.

I'm not sure what my recovery plan is. I could order a ziricote fretboard from LMI but they are $25. It's in my budget but it gets me pretty close to my cap. So i am not quite sure yet.

Woulda been purdy...
Image

alas, it was not meant to be
Image

Neck laminate turned out nice tho!
Image

Sinker Cedar top:
Image

Author:  Marcus [ Mon Aug 06, 2012 10:17 am ]
Post subject:  Re: Marcus' Build

Neither piece is wide enough for a fretboard, i was going to bookmatch them as the fretboard. The thinnest it gets is like 1/8". I did consider using a scrap peice of wood (walnut or something) as a substrate and then just using very thin ziricote as the fretboard surface. I'd have to do a bound fretboard to hide the substrate, but that's not a problem.

Do you think that would work?

Author:  Bryan Bear [ Mon Aug 06, 2012 10:30 am ]
Post subject:  Re: Marcus' Build

I think that would work well, you just have to make sure that you don't go through when you radius the board.

Author:  SteveSmith [ Tue Aug 07, 2012 6:16 am ]
Post subject:  Re: Marcus' Build

I have a piece of walnut around somewhere that I sliced like that - still haven't used it. Think I'd find another board.

Author:  Marcus [ Fri Aug 10, 2012 5:00 pm ]
Post subject:  Re: Marcus' Build

Here are some update pics.

I'm going to try to use a substrate (probably mahogany) under my thinned fretboard. More pictures of that later.

Top and Back is joined. I also complete the scarf joint on my neck. I thicknessed the back, but im still trying to think of something cool to do with the center strip.

Pics.

Tape method.
Image
Image
thicknessed, rough sanded with 80 grit (drum sander)
Image
w/ naptha
Image
Image

Author:  SteveSmith [ Fri Aug 10, 2012 7:17 pm ]
Post subject:  Re: Marcus' Build

That back looks good. One thing I've done before is just run a 1/16" black purfling line down the center. Looks nice visually but is easy to do. Could also do the same thing with a piece of binding.

Author:  Marcus [ Mon Aug 20, 2012 12:27 pm ]
Post subject:  Re: Marcus' Build

I did a little bit of work on Friday. Kerfing the lining took some extra time. I finally figured out the back inlay, but no pictures yet, I'll probably work on that next.

I've got the sides bent (i didnt get any springback, so it doesnt fit real well in the mold), but I still need to bend the florentine cutaway and install it before I attached the bindings (duh)

Here are more pictures of kerfed lining than you ever needed.

Image
Image
Image
Image
Image
Image
Image
Image
Image

Side bending

Image
Image
Image

Author:  WudWerkr [ Mon Aug 20, 2012 12:53 pm ]
Post subject:  Re: Marcus' Build

Looking good ! [clap]

Author:  Tony_in_NYC [ Mon Aug 20, 2012 7:39 pm ]
Post subject:  Marcus' Build

I could have used a few more shots of the kerfed linings.

Author:  Marcus [ Mon Aug 27, 2012 12:31 pm ]
Post subject:  Re: Marcus' Build

I did a bit of work on the build. I'm juggling about 5 or 6 different guitars at the moment. Some repairs, some builds, mostly spraying finish. Since this is a pretty fun little build, I try to find time to work on it.

I rushed the back inlay design a bit. By the time I finished routing it, I decided that I didn't like it. Since I'm not going to resaw another back (I don't think I have enough material anyway), I'll just make this the inside of the guitar and make another design on the other side. It should look interesting, I don't know anyone who inlays the inside of a guitar!

Pics of the back inlay:

Image

Image

Image

Image

Image


Here are some pics of the cutaway bending and gluing.

Image

Image

I got the lining (kerfing, hur hur hur) all installed last night. here is a picture of the soundboard side installed. You can also see the overall shape of the guitar.

Image

I suppose it is also worth mentioning that this will be a surprise gift to my older brother. He's the one in the picture that helped me harvest some of the Black Walnut.

Author:  Marcus [ Mon Aug 27, 2012 1:20 pm ]
Post subject:  Re: Marcus' Build

Thanks Filippo

Just realized what a hellhole my shop is from these pictures. I guess I will be spending time tonight cleaning!

Author:  SteveSmith [ Mon Aug 27, 2012 1:32 pm ]
Post subject:  Re: Marcus' Build

Lookin good! I'm jealous, everyone is farther along than I am. That's what I get for screwing up a set of sides, I guess.

A clean shop is a sign of someone who isn't doing anything or who is overly obsessive (like Hesh). :o

Author:  John A [ Mon Aug 27, 2012 2:03 pm ]
Post subject:  Re: Marcus' Build

looks good Marcus -

Steve - don't feel bad - I haven't even started ! and don;t plan to till mid Sept - makes it more of a challenge !

Author:  SteveSmith [ Mon Aug 27, 2012 3:37 pm ]
Post subject:  Re: Marcus' Build

John A wrote:
looks good Marcus -

Steve - don't feel bad - I haven't even started ! and don;t plan to till mid Sept - makes it more of a challenge !


Then there is hope.

Author:  Marcus [ Tue Sep 04, 2012 12:37 pm ]
Post subject:  Re: Marcus' Build

Update time!

I've got the back attached to the sides. I've got an idea for the rosette now, so I'll start laying that out soon.

Pics!


Image

Final Inlay of the back. I didn't put the purfling in since i want to miter it with the outer purfling. I'll install it after i route the channels.
Image

Center strip being glued.
Image

Visiting the local lumber supply. I could spend all day in there!
Image

Center strip marked, ready to be notched out.
Image

Notched out
Image

Braces radiused, ready for gluing.
Image

Braces being glued
Image

Mock fitting, time to cut notches in the lining for the braces.
Image

blah blah blah
Image

Image

yadda yadda
Image

Image

I'm finishing the inside of this with a coat or two of Tru Oil.
Image

Image

Author:  SteveSmith [ Tue Sep 04, 2012 12:49 pm ]
Post subject:  Re: Marcus' Build

Inside of the back looks cool, too bad all design changes can't be handled so easily. What does it look like on the show side?

Author:  Marcus [ Tue Sep 04, 2012 12:54 pm ]
Post subject:  Re: Marcus' Build

SteveSmith wrote:
Inside of the back looks cool, too bad all design changes can't be handled so easily. What does it look like on the show side?


The final design will be this.

Image

I am thinking about using white/blue/white for the purfling. I am contemplating using black/blue/black, but since this is a walnut guitar with ziricote trim, i think it will be dark enough.

Author:  SteveSmith [ Tue Sep 04, 2012 3:19 pm ]
Post subject:  Re: Marcus' Build

Cool - I am just not that artistic. idunno

Author:  Marcus [ Wed Sep 26, 2012 12:14 pm ]
Post subject:  Re: Marcus' Build

Here is a very needed update. I've been working on the rosette, I just didn't want to post pictures without being able to show the finished rosette in the same post.

Here are probably way too many pictures of the rosette process:

Concepting, I didn't like the literal design, but the idea I did like.
Image

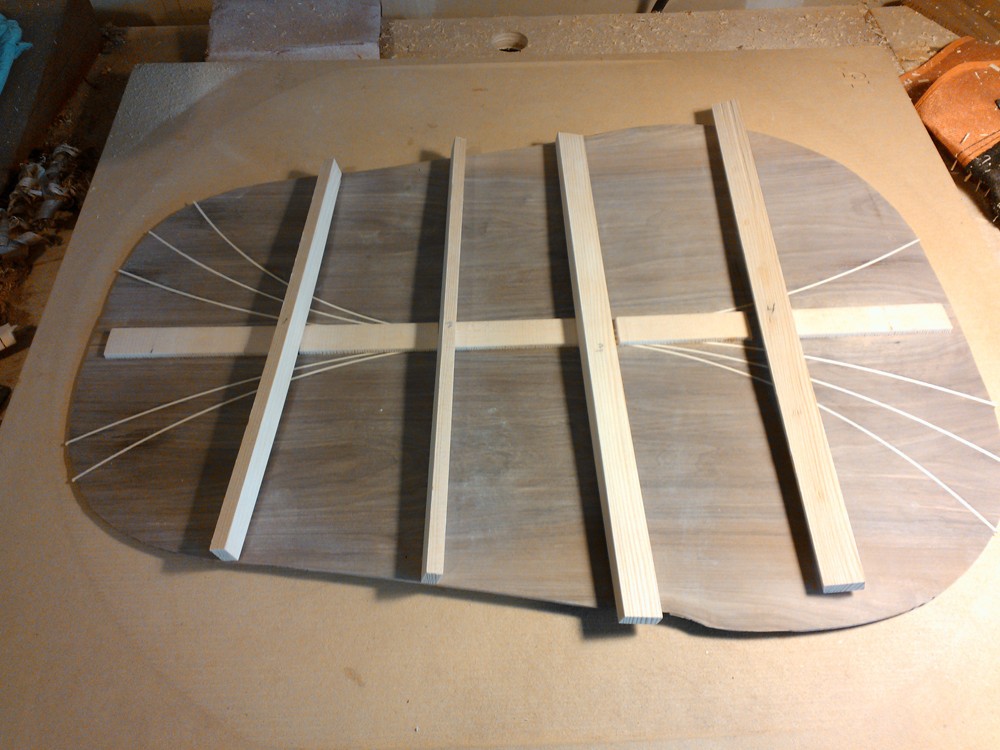
Changed the design a bit, applied to soundboard. Note: measurements were waaay off on this one. Figured it out before i started routing though. Phew!
Image

First channels routed
Image

Channel cleared out, ready for some shellac to seal
Image

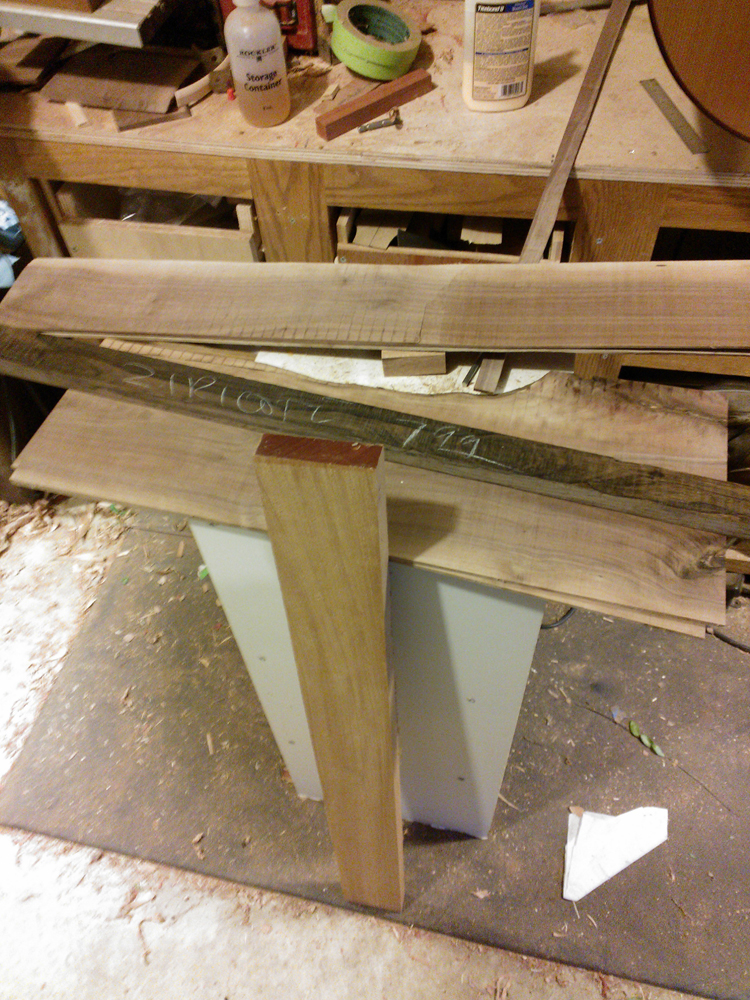
Ziricote glued in. It wasn't a great fit, but since most of the ziricote will be routed away for the other channel, it ended up working ok. This little mishap made me avoid the shop for a few days.
Image

Image

Channels for the black walnut.
Image

All routed and cleared
Image

Image

Image

Image

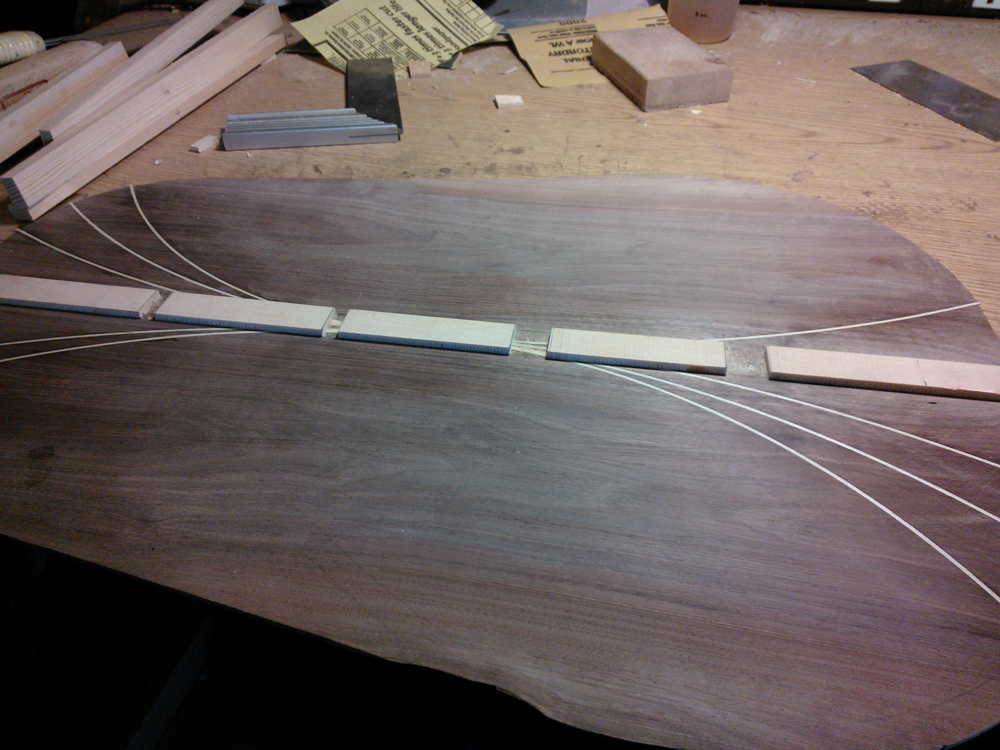
Channels for purfling being routed. I am using White/Blue/White
Image

Started installing. Pretty tedious work.
Image

Image

All inlayed, pretty crappy picture...
Image

Sanded flush. I think it turned out pretty good. I could've been a little better with my mitering.
Image

I sustained my first injury on this project when I was chopping my miters on the purfling.
Image

Also put in my soundhole label. Woo...
Image


The blue purfling turned out very very dark, almost indistinguishable from black. We'll see what happens under the final finish.

Author:  Tony_in_NYC [ Wed Sep 26, 2012 1:28 pm ]
Post subject:  Marcus' Build ~Tons of Pics!~

Wow. Nice job!


Posted from my Toaster oven using Tapatalk

Author:  Bryan Bear [ Wed Sep 26, 2012 1:59 pm ]
Post subject:  Re: Marcus' Build ~Tons of Pics!~

Wow! That is all I can say. . .

Page 1 of 4 All times are UTC - 5 hours
Powered by phpBB® Forum Software © phpBB Group
http://www.phpbb.com/