Good Morning Chris,
I use a router setup that I adapted from the Grizzly sanding type swingarm. I usually will setup for a 10" at nut to 12" to tail for electrics, I find this works nice and allows no fret out on upper register string bends.
I press my frets in. I believe that Stewmac radius is 10" to 12" at the 12th fret and 14" at tail?
Below is a link to my jig. The link of the prototype section shows how it is adjusted for compound radius.
Section 2 is not done as far as the building of sled and jig though. I hope soon I can finish this and revamp the other sections for more clarity.
http://www.mikrovisions.com/jig/index1.htm
Just my way of doing this
Hope this helps in giving some ideas on one way to get there.
Mike
![[:Y:]](./images/smilies/smiley20.gif "Thumbs Up")
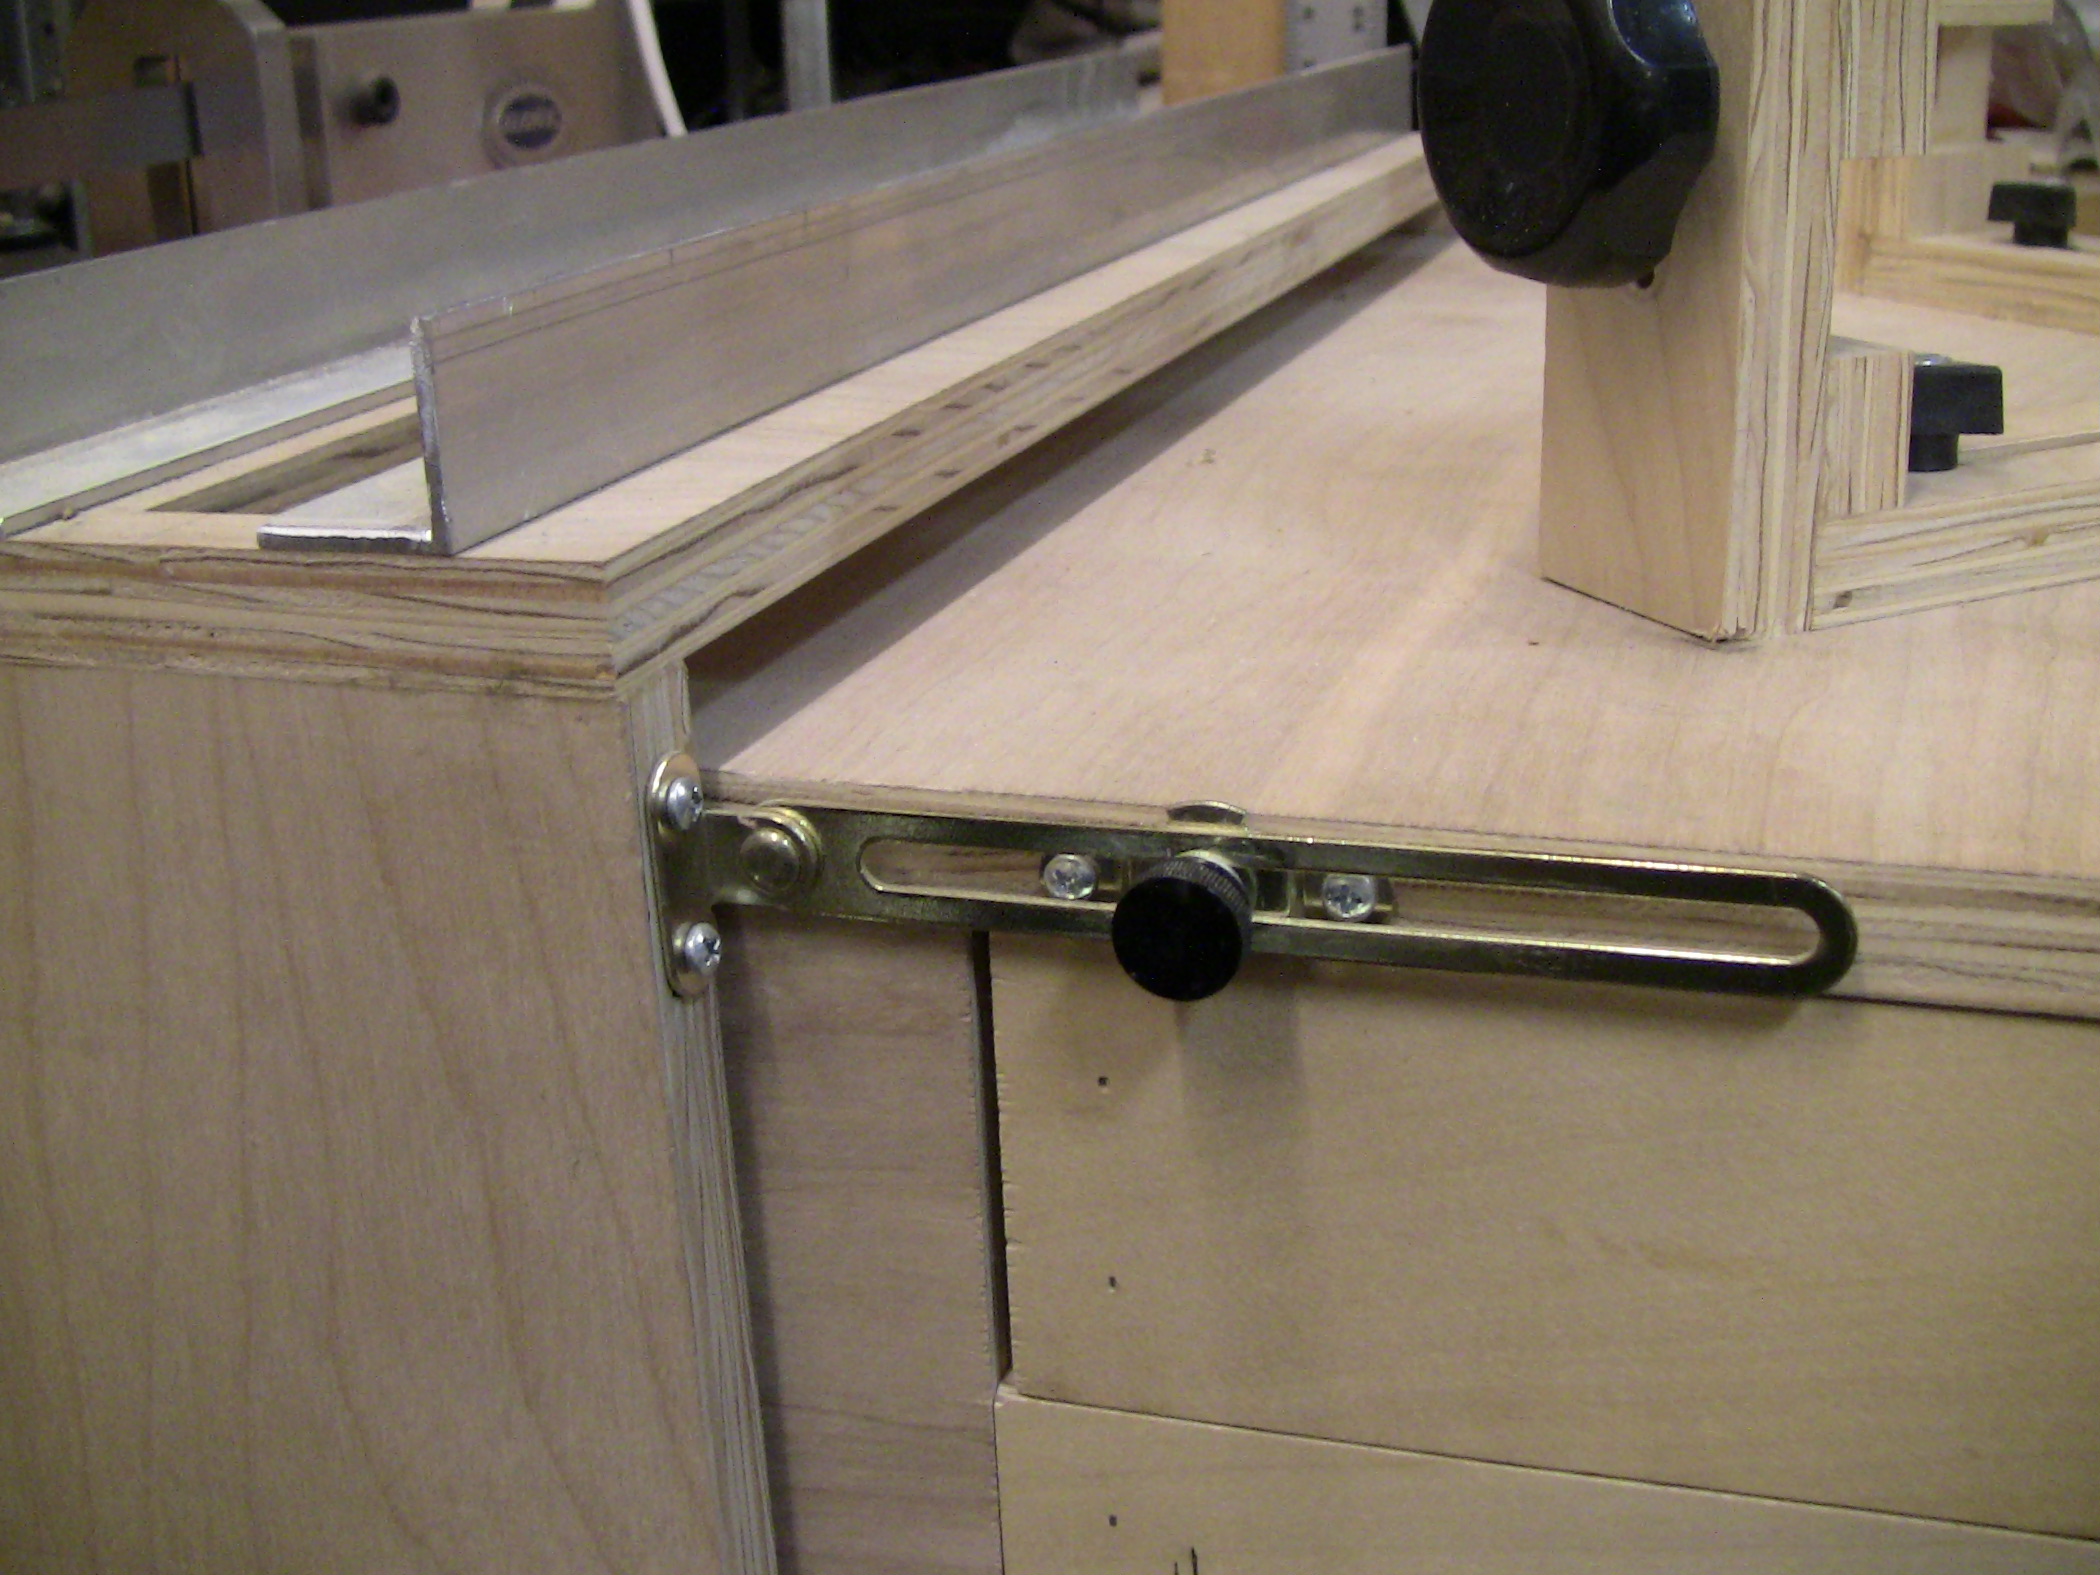
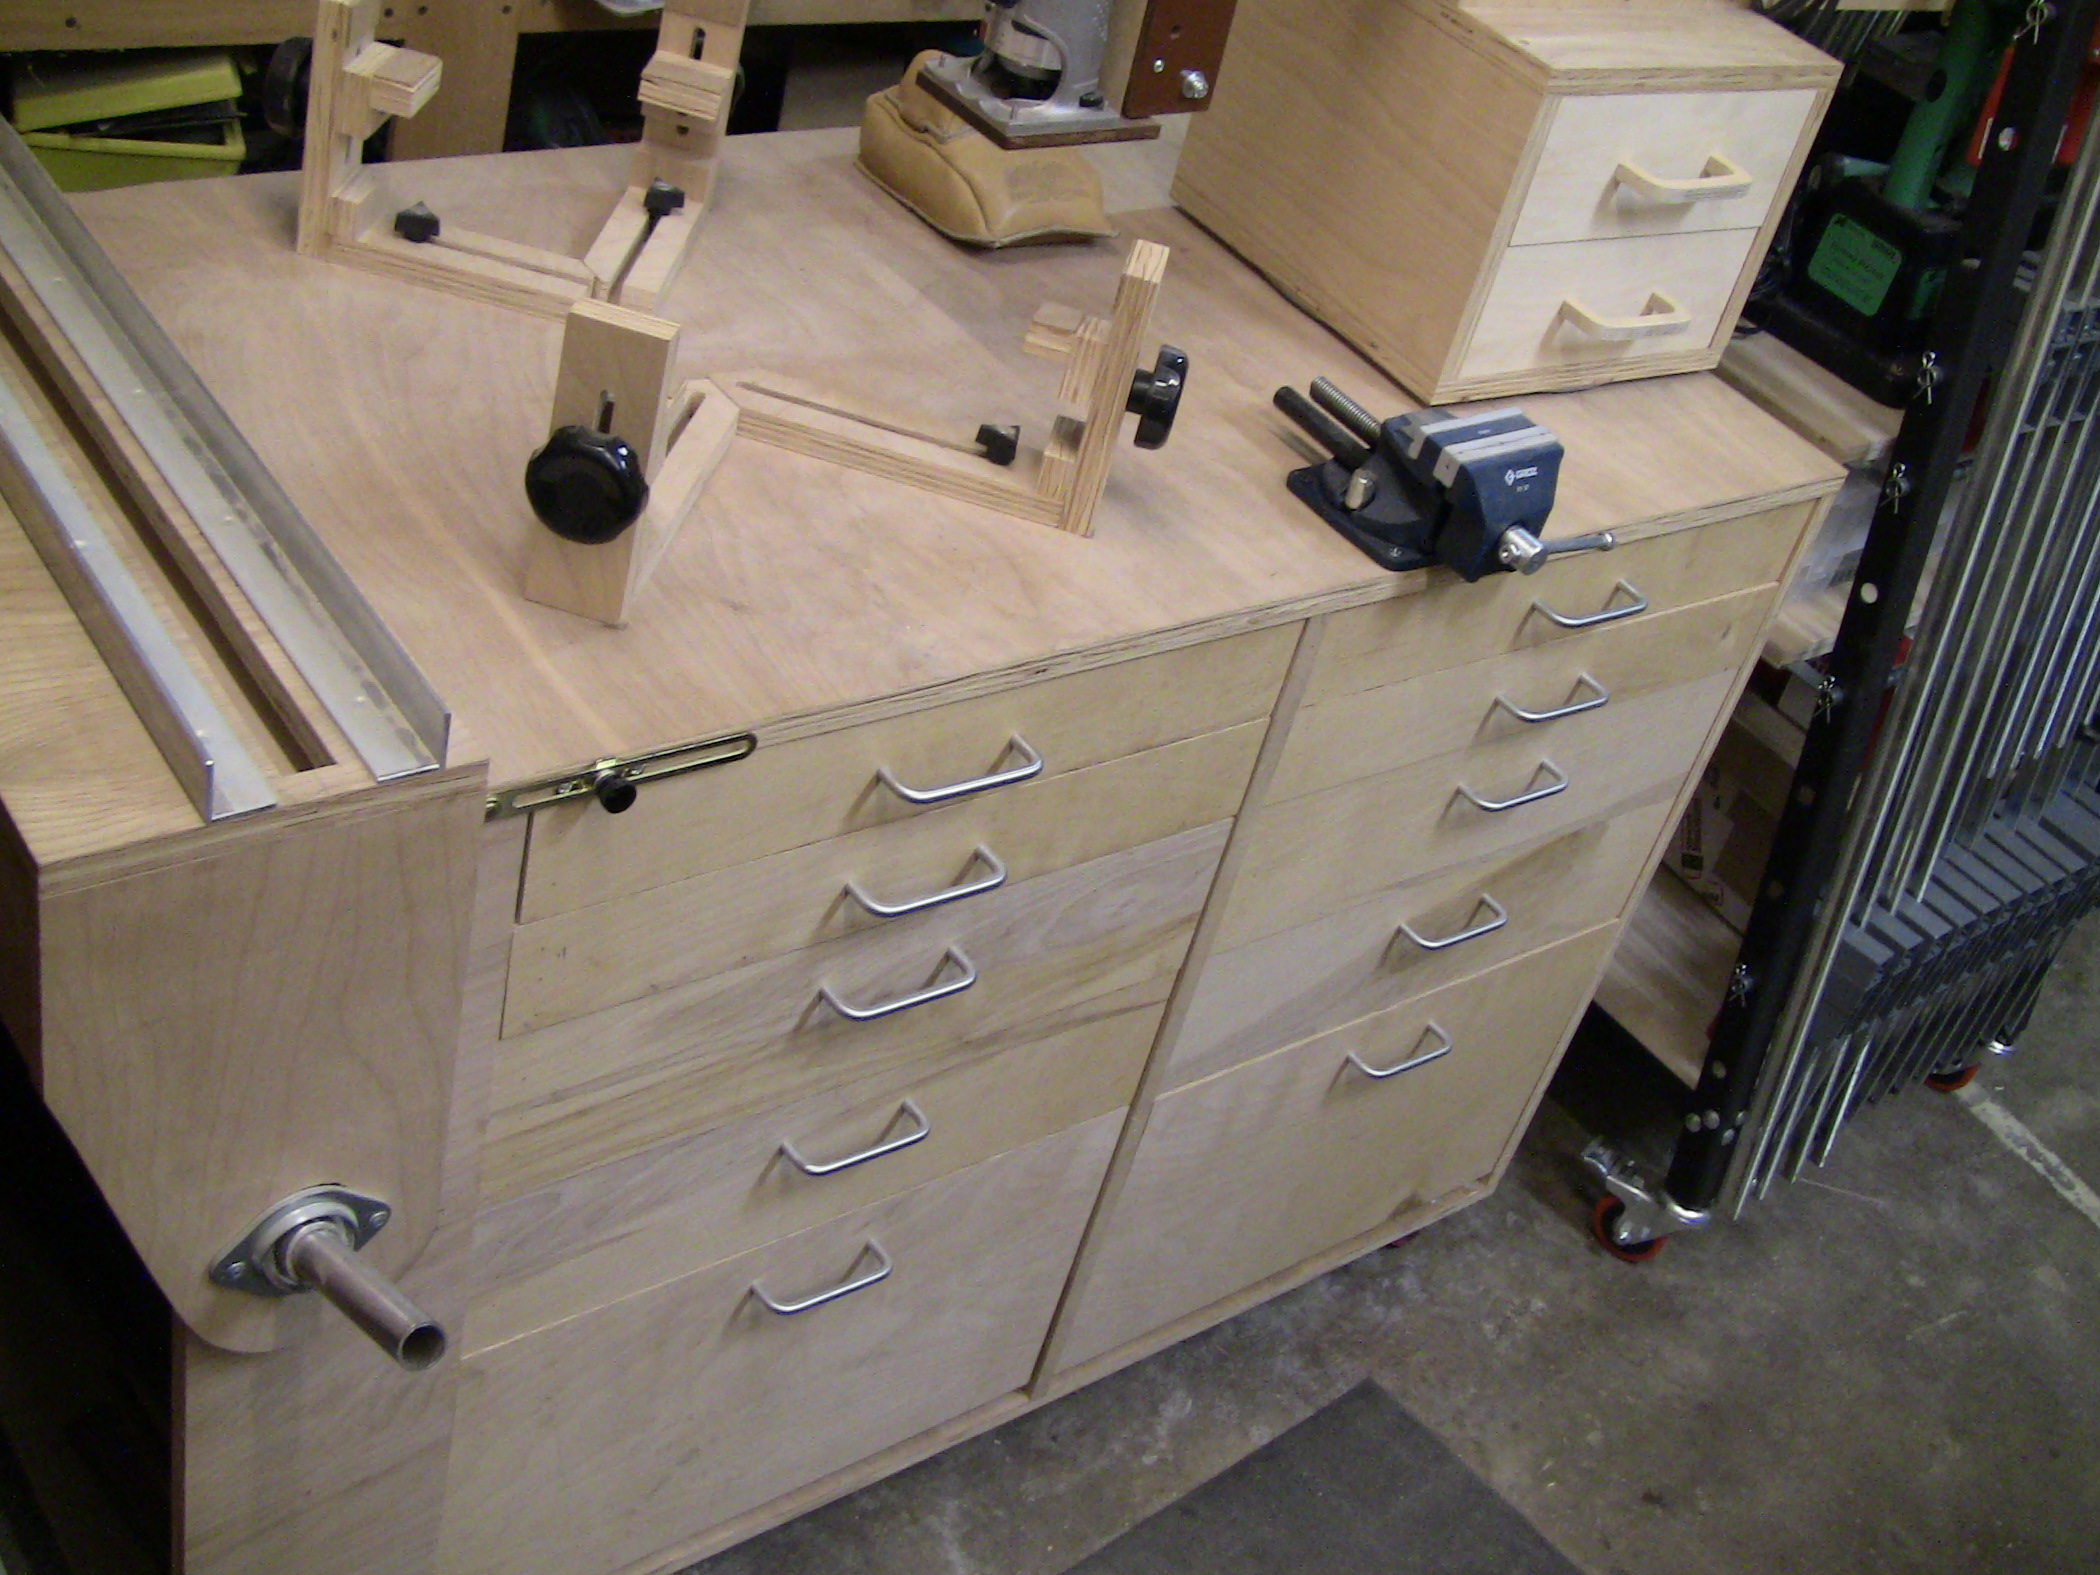
 ). My version of the Williams style binding jig sits on the right hand end of the unit, and the compound radius fretboard routing jig on the left hand end. I found space at the front to mount a small vise that I use for nut making etc. also. Click on the pictures to see/download the hi-res versions.