Hi,
I've found many builders have a photo bug. Some of you guys would like to take better pictures. Woody suggested I give some photo tips. How about a class?
I’ll start with a basic class with a basic ($100) digital camera.
If your digital camera is more than 3 years old and cost less than $400, replace it. The cheap stuff has gotten scary good in the past year.
A little on my background;
My wife and I own a fun biz; isimon PHOTOGRAPHY. I thought of that i lower case thing 20 years ago! I should sue….but I digress. My primary biz is; thoughtful, high quality school and team photo’s (sports, dance). It keeps us insanely busy for 6 months of the year. We have a great reputation and many 20 year clients. We don’t have a complaint file to keep. I entertain Preschool kids and get portraits that moms can’t resist. I tell forth grade boys they are ugly….. I get great smiles. For prints we use the best lab available, not "junky school pictures" in any way. My wife is the brains of the operation (Ex CPA brainac. That, and she encourages my build dream. You can’t have her pthhhh)
I do some commercial projects but that can be its own business. Follow through and account maintenance can be consuming. So I only take on what I can. To fill time between our bread and butter I always did Weddings and such. I love event photography but it’s a younger mans game. So, chasing brides has hopefully turned into a small guitar and parts building biz. I hope to learn how to do this right. We’ll find out what I can learn.
What I can offer back; I will try to help you guys take better photo’s of your art you have worked so hard to create. I have volunteered my services to the upcoming ASIA and to Mid Atlantic (I hope John can piece that one back together some time) Also, I am doing my second stint at McKnight Jam. Tim and Mary have a very nice gathering. Tim puts Scotch heavy spray adhesive all over his guitars and then sets them all over the place. Awesome sales tactic, fun to photograph. Hee
So………….
Photo101
Lets turn Photo 1 into Photo 2
PHOTO1
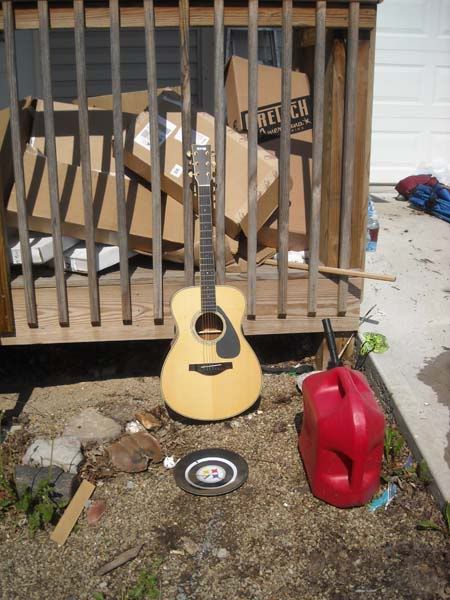
PHOTO 2
Camera; my kids Nikon L18 $100 camera; has some manual overrides and a zoom lens.
Outdoors Lighting; Bright sun 10am
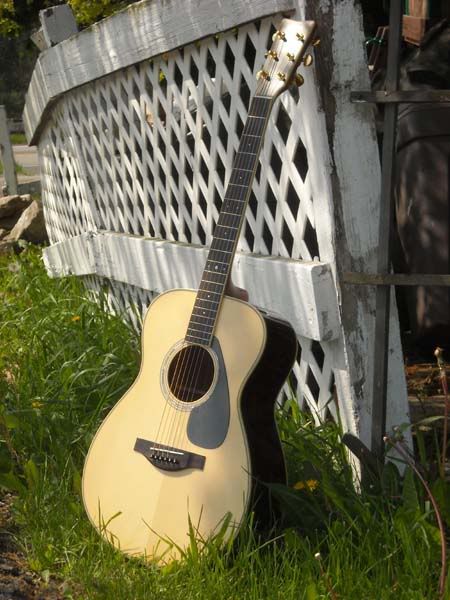
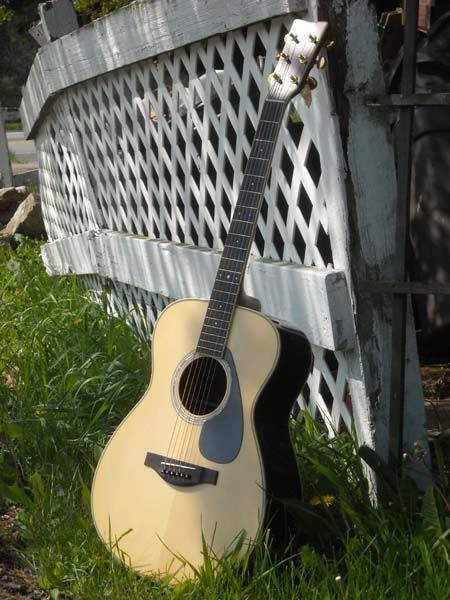
I got a little artsy with a Poly finished Yamaha. Never set a French Polished guitar in the grass! Pick your spot for either simplicity or a compliment to the intent. Put a Jazz guitar on a brick wall at a railway station. Dream the photo. It can be like playing your first bar chord. PIA that is so satisfying.
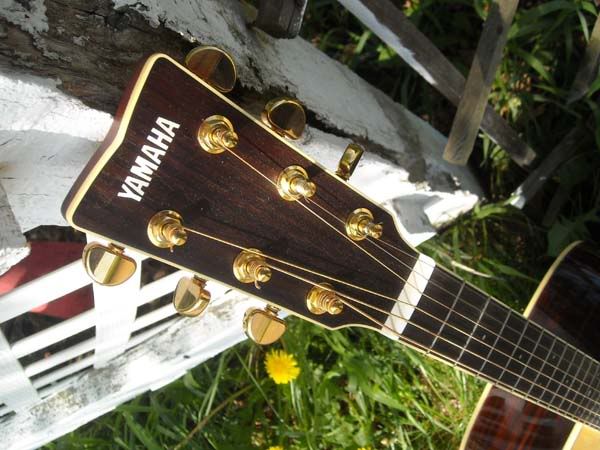
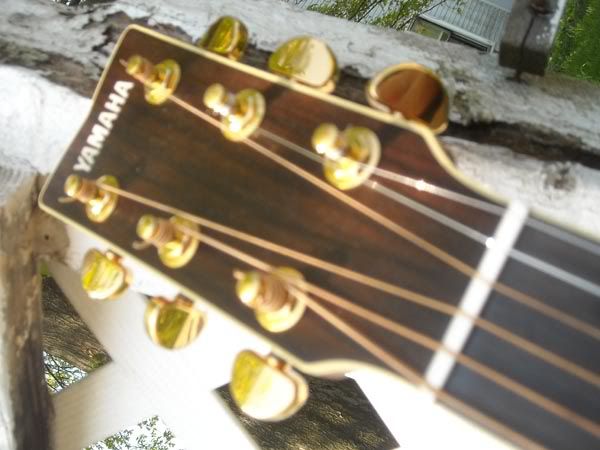
I started with an average shot. Harsh light. Noon is the worst, we‘ll cover that in lesson 2 . Bright, direct sun is bad; Wide angle optics distort
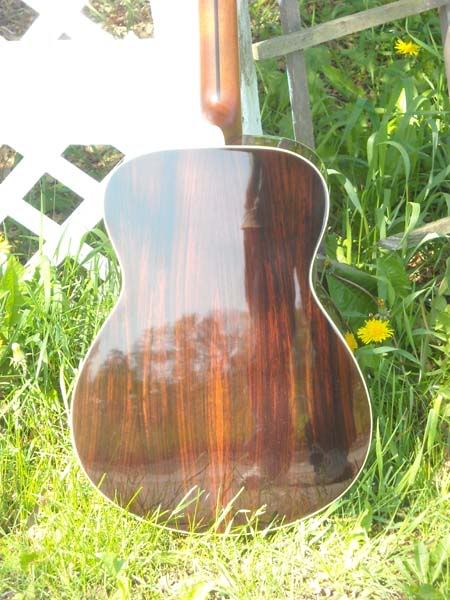
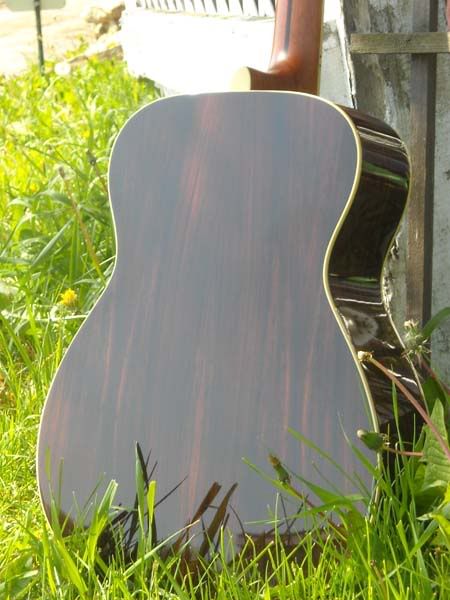
Backs are harder to shoot than fronts.
 So what is working against these photos? Almost everything. The full front is distorted from being to close/using wide angle. The back, well, it’s a nice picture of …a field.
At least the light is low in the sky. Morning and dusk are your best friend. Note Mornings are blue in color tone., evenings yellow. Give me dusk on an overcast day as my favorite time to shoot. But you work with what you have. Today we have 10am EST spring.
Composition; Look at your whole scene. Did you see the garbage pale in photo2? If you did you get one "A ". Hey, a branch out of focus in the scene is art. A branch from a tree, right behind the guitar, is an antler. Dead on shots are generally a drag. It shows no depth, little of the character. Clients will ask for dead on, not on an angle. Not because they don’t want to see what is on the sides. It ’s just they subconsciously want a distortion free picture. Which I hope to teach you to create.
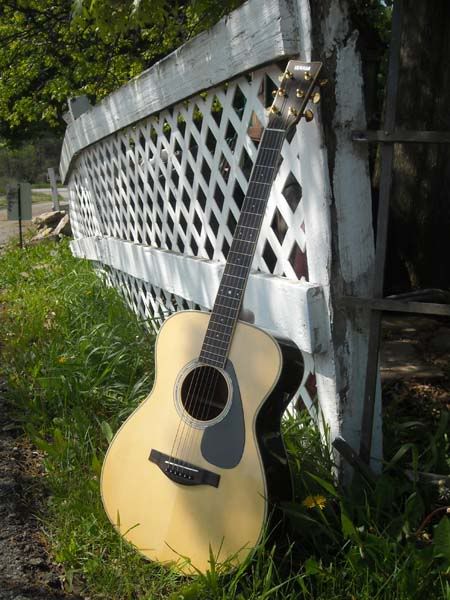
Angle is everything; Wide angle distorts. Wide angle close really distorts.
Try to remain parallel to your subject
BTW
You can do just as much damage to the image aiming up
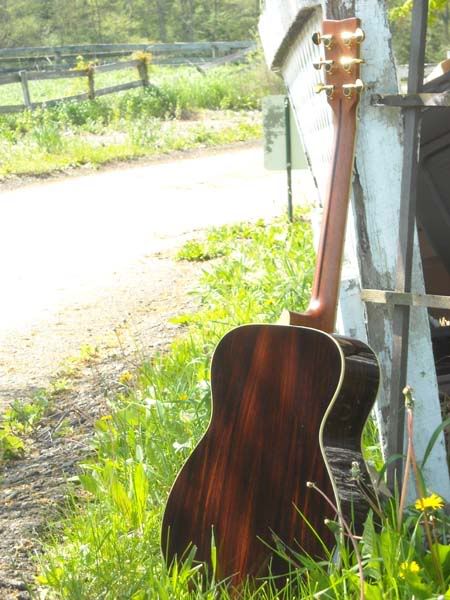
Lets get started. Get as far away from your subject as you can. Use your optical telephoto.
NEVER use the camera as it turns on. Your camera was not built for product photography. It was built for round faces 15 feet away. With a few easy tricks we can make the camera do a great job. So, BACK UP. Get away from your subject. Now use your OPTICAL zoom to maximum to fill your frame. Part cut off? Back up more. Want to fill the frame more then move closer. Leave the zoom on max. Did I mention to not use the digital zoom. Digital zoom does not produce clear results. NEVER use the digital zoom. Also, if you have a tripod use it.
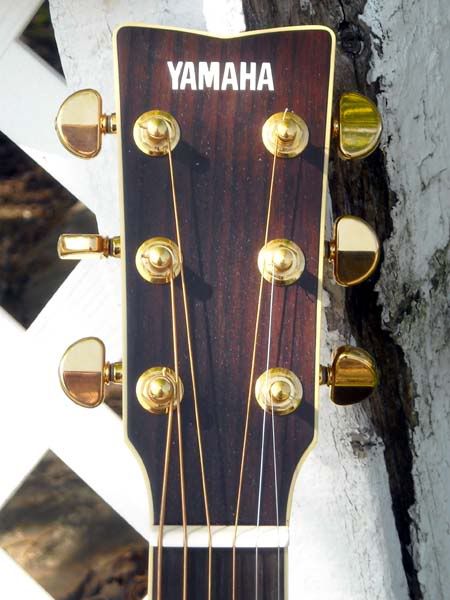
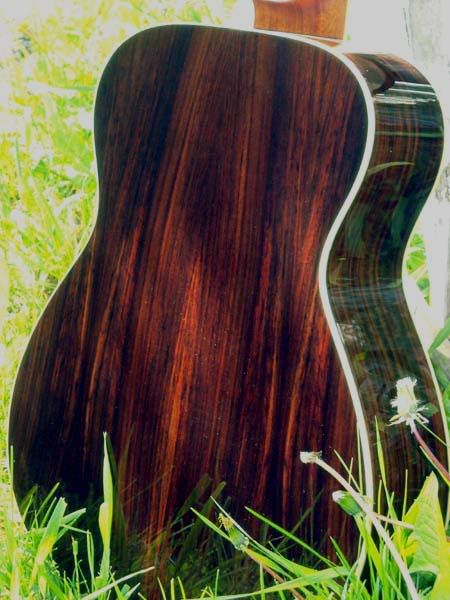
Here we have a nicer picture. Note the fence.
Look at the same photo shot on wide angle much closer to the guitar, can you see the distortions;
Next lets GET RID OF THE GLARE. Since the dark of the back shows the uneven light better lets turn it around.
Worst best solution. Aim the guitar into the cloudless sky.
Best; get some wide felt and block the direct sun.
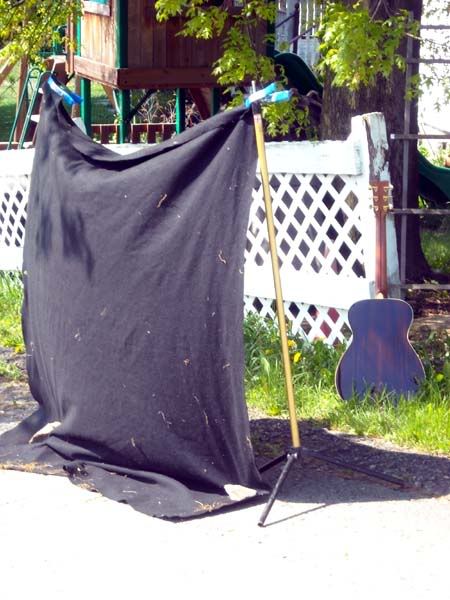
Did you see the cans again? We'll do much more on picking spots to shoot pictures.
You can also use white sheets to diffuse the sun. That works fantastic with sunbursts and Mahogany/dark tops. Black gloss tops are a WHOLE other lesson. Note; pink sheets, blue sheets, paisley …… NO
That’s the end of lesson 1 I will be happy to carry on with encouragement. I’m not looking for Kudos, I just gotta know its being used and my ramblings understood before I put a couple hours into the next lesson.
Copyright 2009 isimon PHOTOGRAPHY Free to copy. Send me dough or at least ask permission if using for a teaching tool. Publish whole or part Only with permission and credit.
![[:Y:]](./images/smilies/smiley20.gif "Thumbs Up")

